How to Customize Your Blog for Ultimate Growth and Visibility
In this stage, you’ll learn how to customize your blog effectively for Ultimate growth and visibility.
If you haven’t installed WordPress yet, jump back to Stage 2 for a quick setup guide.
With WordPress ready to roll, you’re just a step away from mastering how to customize your blog! This step covers the essentials for creating your first blog posts, managing content, and setting up the basics of your blog. Next, we’ll explore advanced techniques to personalize your blog’s layout and design, allowing you to make it truly your own.
Logging In
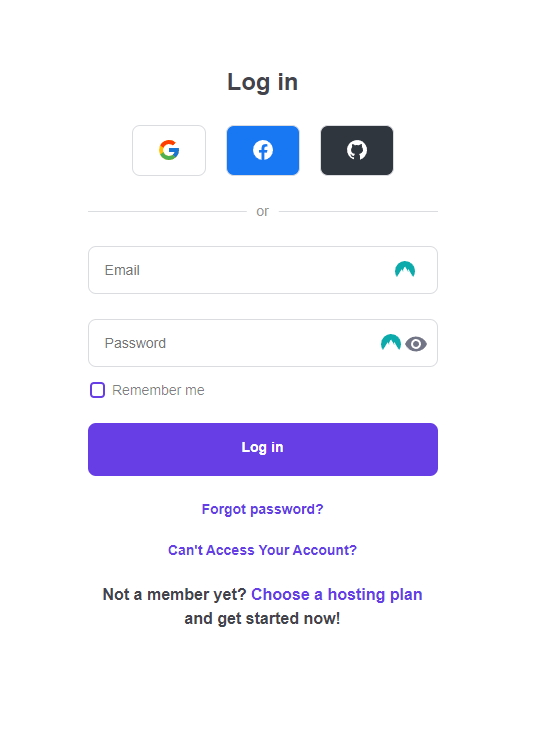
Ready to dive in? Log in to your site by going to Hostinger.com and selecting ‘Login’ at the top right. Can’t remember your login info? Check your welcome email from Hostinger, or use the password reset link on the login screen.
Navigating To Your Website
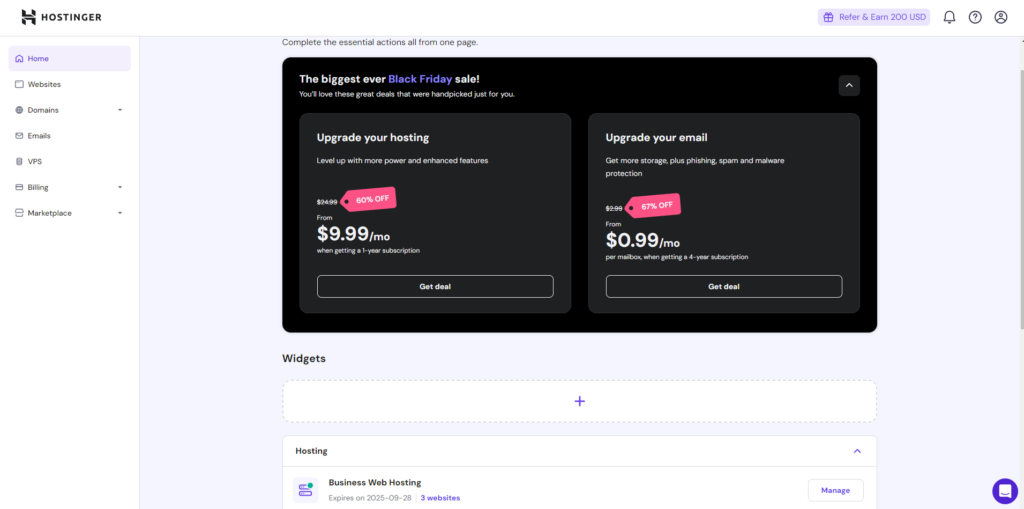
Once you have logged in, you will be taken to the Home page of your Hostinger Dashboard, where you can start learning how to customize your blog. It should look something like this.
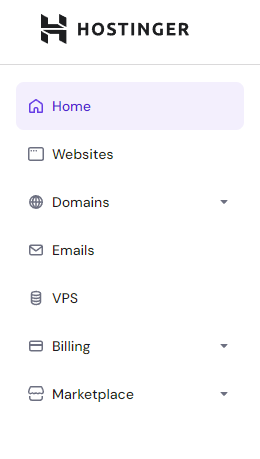
To get to your website, identify “Website” under “Home” in the menu located in the upper left corner of your screen.
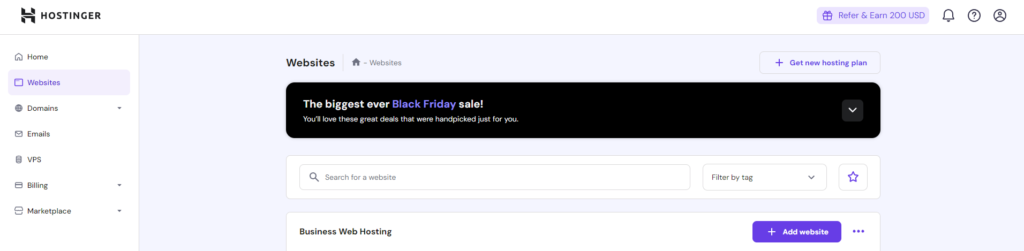
In this section, you should see a list of all the domain names linked to your web hosting. Since we just set up this account, there will likely be only one domain associated with it—the free domain we received when we initiated our web hosting package.
Click on your domain name in the list and select “WordPress Admin”.
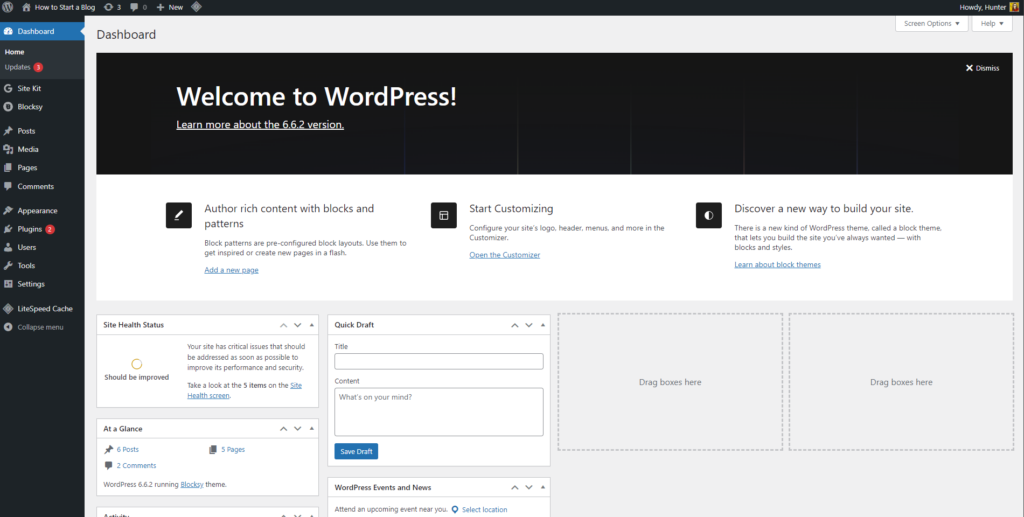
Here you will be redirected to the back end of your WordPress Website.
Changing Your Blog Title
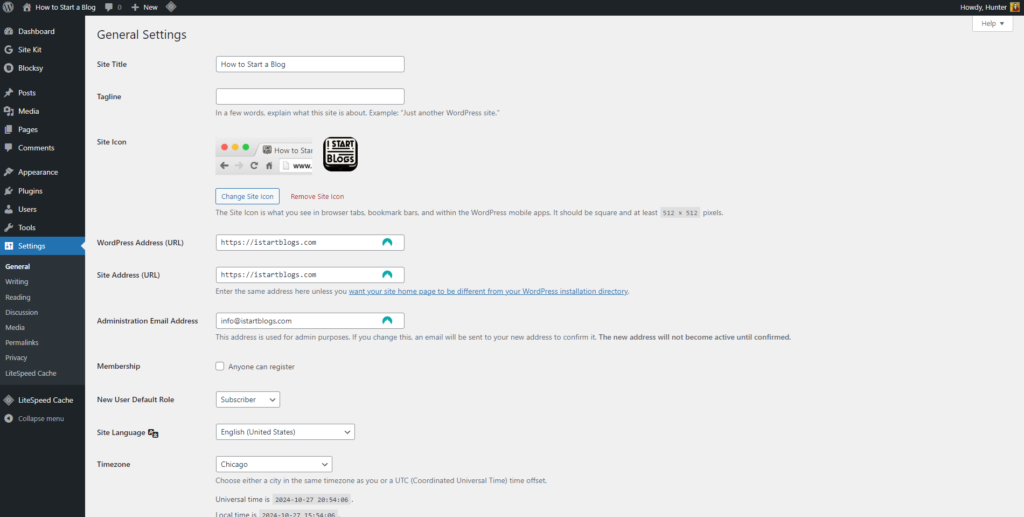
Now that we’ve reached the backend of our website, this is where you can make any adjustments to your blog. To begin, you’ll likely want to update your blog’s title, an essential aspect of how to customize your blog effectively. To do this, scroll to the bottom of the left menu and click on “Settings.” This will direct you to the following screen:
On this screen, you can modify your “Site Title” and the subtitle, also referred to as your “Tagline.” Simply enter your desired text in these two fields, then scroll down and click the “Save Changes” button.
After saving, your changes will go live immediately. To check how your site looks at any time, just type your domain name into the browser and press enter.
How to Write a Post
Blogging revolves around writing, so let’s dive into how to customize your blog by crafting your first blog post.
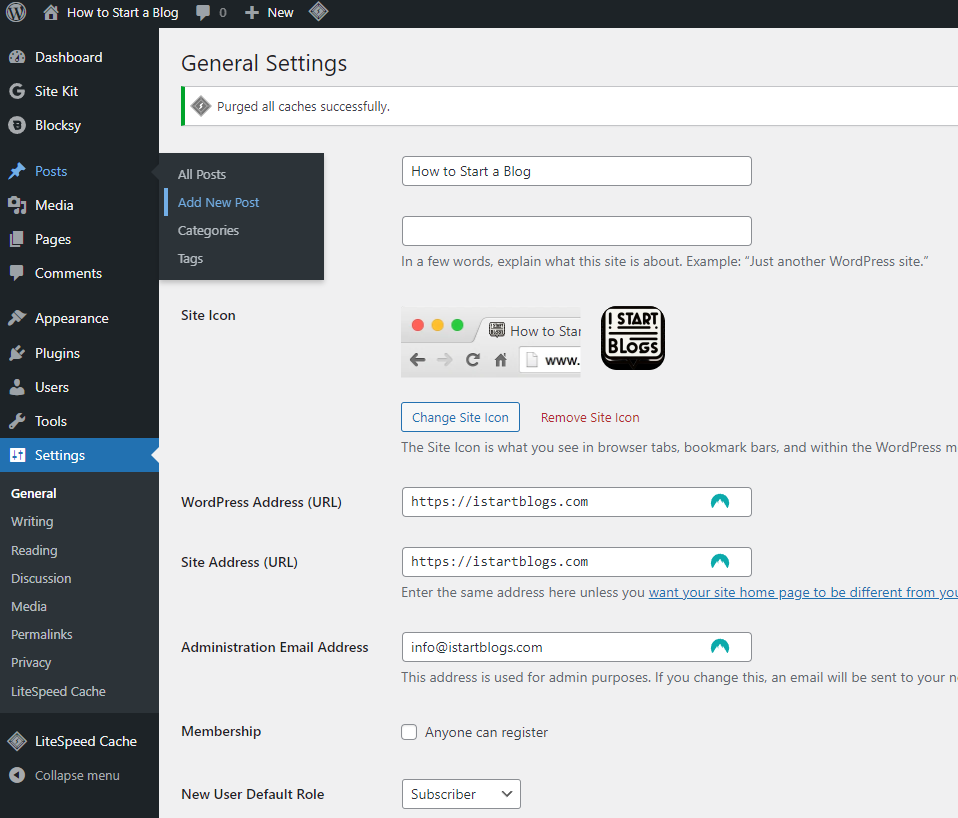
Navigate to the left menu and select “Posts.” (See the image below for a larger view.)
You’ll notice there’s already a post titled “Hello world!” This is a default post that appears on every new WordPress blog, and it’s not needed. To remove it, simply click “Trash” located just below the post.
To start writing a new post, click the “Add New” link, which can be found in the left menu or next to the word “Posts.”
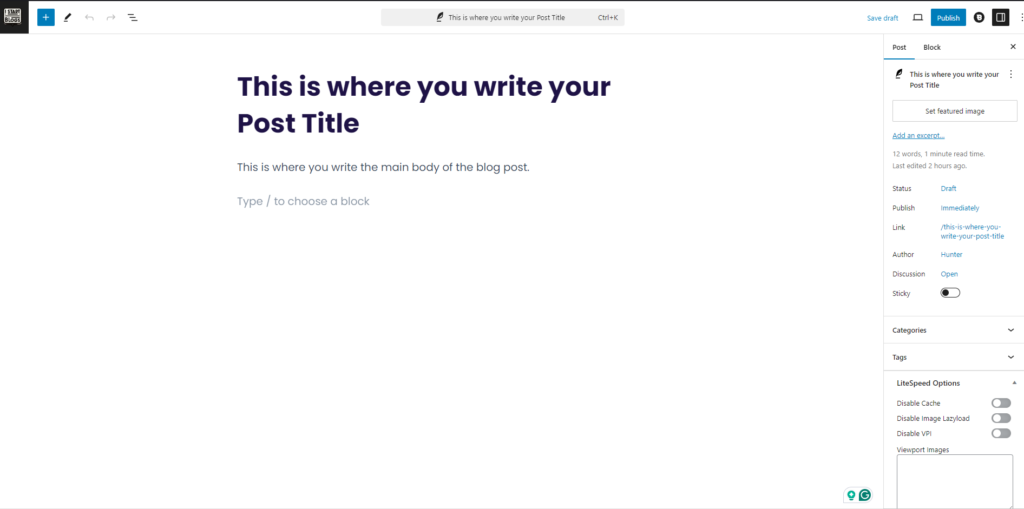
You should now be on the post-creation screen. Enter your post title in the top box, and then start writing your content in the lower box.
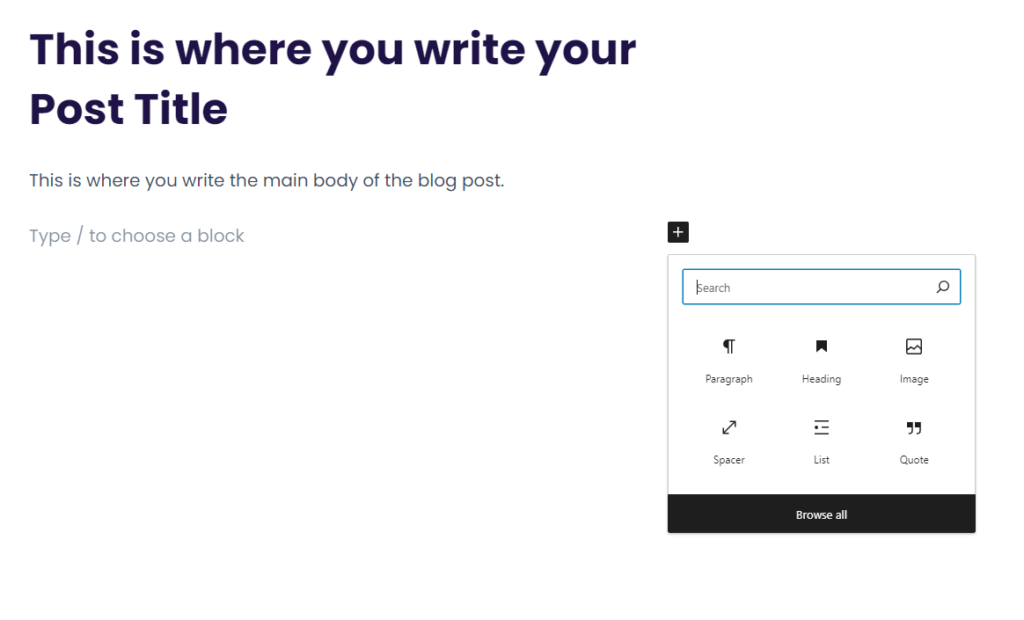
To add a picture to your post, click the “Add Media” button or Type/Add Block and Select Image.
Once the image block is in place, this should insert an image block and prompt you to look in your media library or upload an image.
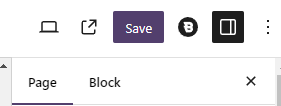
When you’re done with your post, simply click the “Save” button in the upper right corner of the screen.
Publishing Your Blog
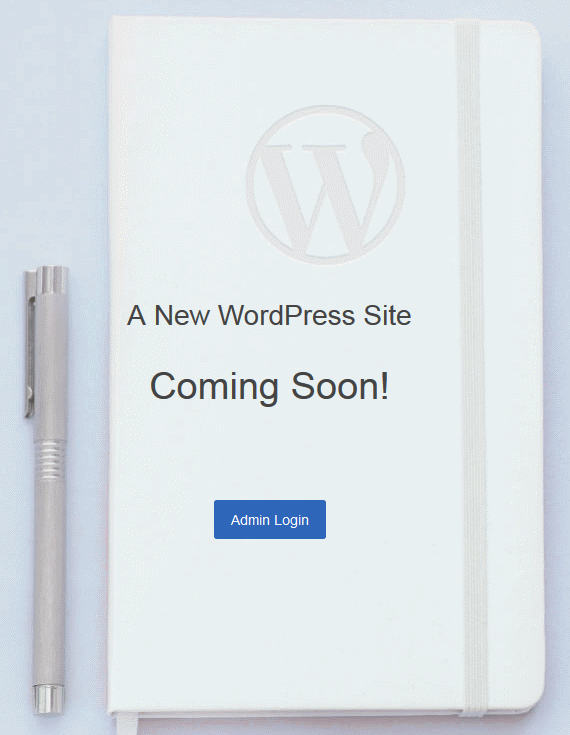
Even after you’ve published a post, your blog might still display a “Coming Soon” page like this:
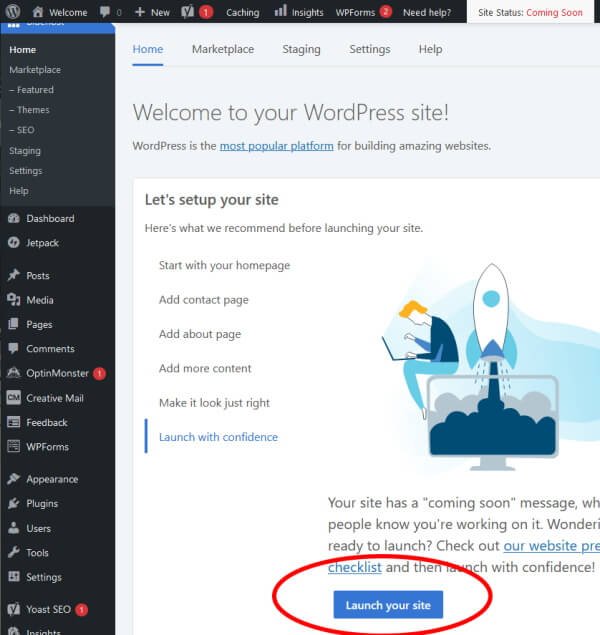
When you’re ready to take down that page, log in to your blog and select “Home” from the left menu. Click on “Launch with confidence,” then choose “Launch your site.”
Next Stage
You’re making fantastic progress on your blogging journey!
Stage 3 Recap:
You’ve successfully logged into your WordPress dashboard, paving the way for effectively managing your blog.
You learned how to change your blog’s title and tagline, ensuring your site reflects your unique brand.
You discovered how to create and manage your first blog post, including adding images to enhance your content.
Finally, you navigated the steps to publish your blog and take down the “Coming Soon” page, making your site live for the world to see!
In the next stage, we’ll delve into advanced techniques for how to customize your blog’s layout and design, allowing you to truly make it your own. Get ready to transform your blog into a standout presence online!