How to Choose Web Hosting: Simple Steps for a Thriving Blog
1. How to Choose Your Web Hosting and Get Started
Welcome to Stage 2 – How to Choose Web Hosting and Get Started with Your Blog!
Affiliate Disclosure: I Start Blogs earns a commission when you purchase Hostinger services through this discounted link. This lets me provide all my blogging setup advice for free! Don’t hesitate to contact me if you need any help getting your blog up and running.
**Receive an additional 20% discount when you click on and use any Hostinger link on this website.**

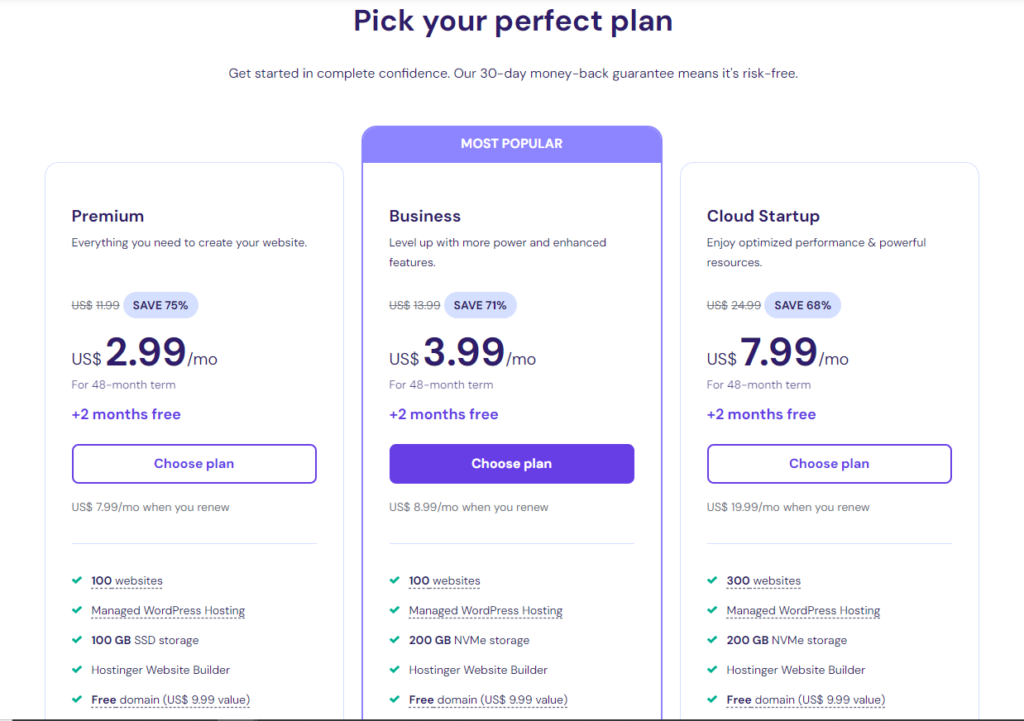
2. Pick your perfect plan. The Business plan is the one I recommend for new bloggers. Select “Choose Plan” to get started.
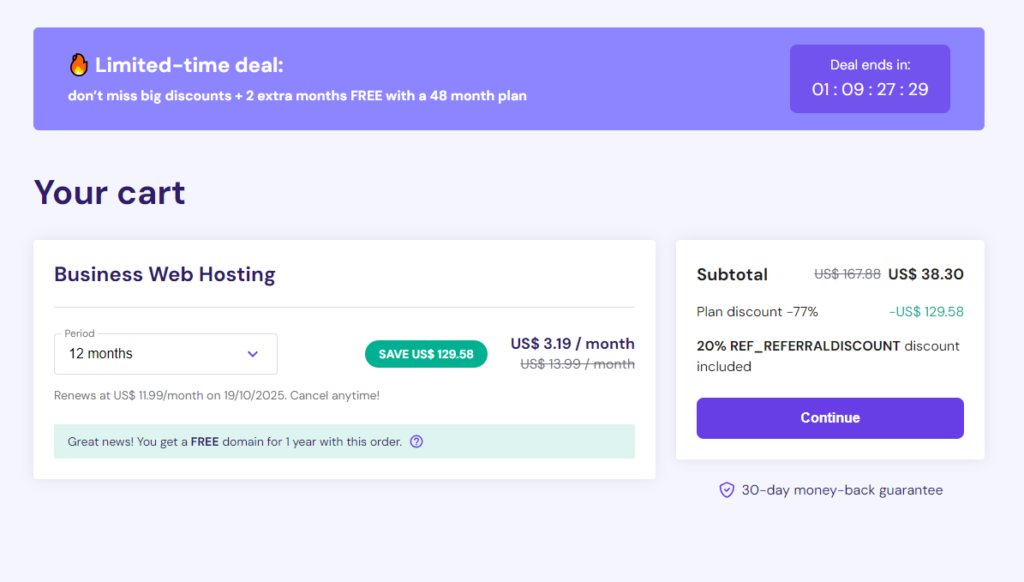
3. Choose Your Plan Length: A longer hosting term locks in lower renewal rates down the road. Choose the period and click “Continue”.
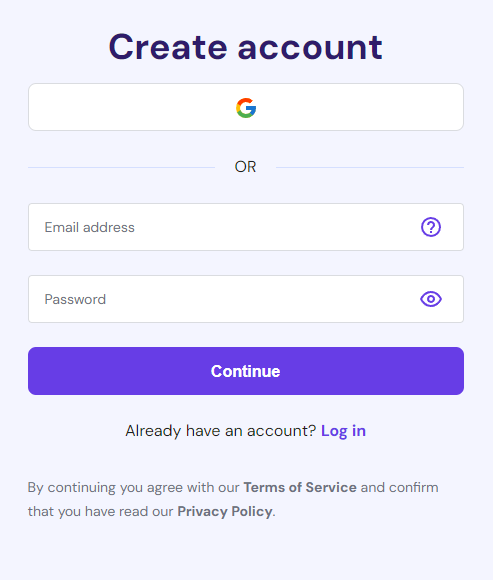
4. Create Your Account: Enter your email address or use your Google account for your free registration. Enter details and click “Continue”.
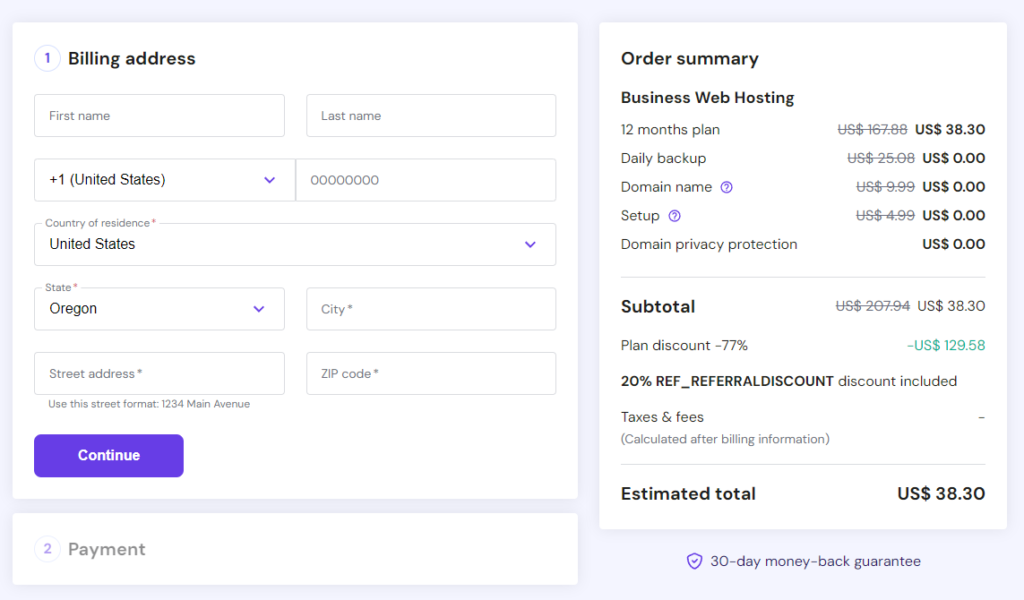
5. Enter your Billing Address information
6. Choose your Payment Information

7. Enter payment details and click “Submit Payment”
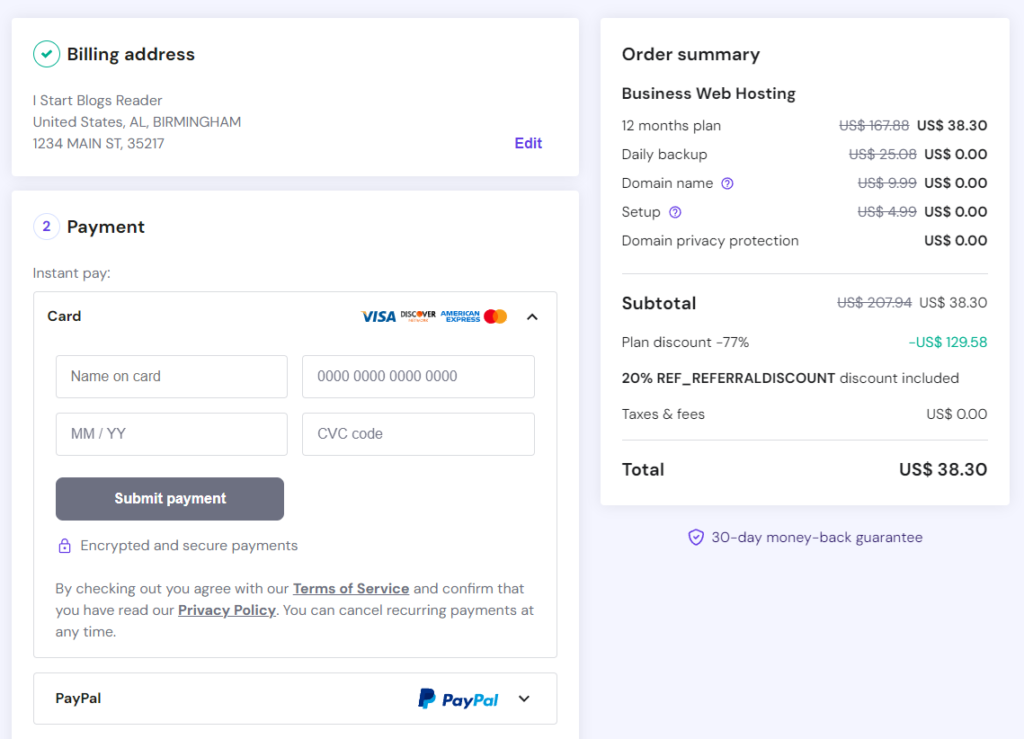
8. You’ve got hosting! Once payment goes through, you’ll be guided to claim the free domain included in your plan.
Congratulations on taking this crucial step in your blogging journey! Securing your web hosting is a significant milestone, as it lays the foundation for your blog. A reliable web host ensures that your blog remains online and accessible, providing a seamless experience for your visitors.
By understanding how to choose web hosting, you will not only have a space to publish your content but also access to essential tools and features that will support your blog’s growth. From customizable templates to one-click installations of popular content management systems like WordPress, your chosen host will provide you with the necessary resources to build your blog effectively.
Additionally, consider taking advantage of the support services offered by your hosting provider. Many reputable hosts, including Hostinger, offer 24/7 customer support via live chat, email, or phone. This means that whenever you face technical issues or have questions about your hosting setup, expert assistance is just a message away. This level of support can be invaluable, especially for new bloggers who are learning how to choose web hosting and may encounter challenges along the way.
Next Stage
You’re doing an incredible job learning how to choose web hosting and getting your blog started!
Stage 2 Recap:
You successfully set up your web hosting, which is an essential part of how to choose web hosting for your new blog.
After selecting the right hosting plan (and if you chose Hostinger, you also received a free domain), you completed registration, picked your plan and duration, and finalized your payment. Now, you’re all set to claim your domain and take the next steps toward building your blog.
In the next stage, we’ll jump right in and start customizing your blog on your chosen domain. With clear, easy-to-follow steps, you’ll be ready to create a unique blog that stands out and grows with you!
